Plaster Coffee Table: Tutorials Crafting Artistic Furniture
Elevate your interior with a Plaster Coffee Table designed by artisans. This equipment complements modern interior design to achieve a stylish look in your space. Combining visual appeal with practicality and durability, this unique furniture fragment is sure to impress.
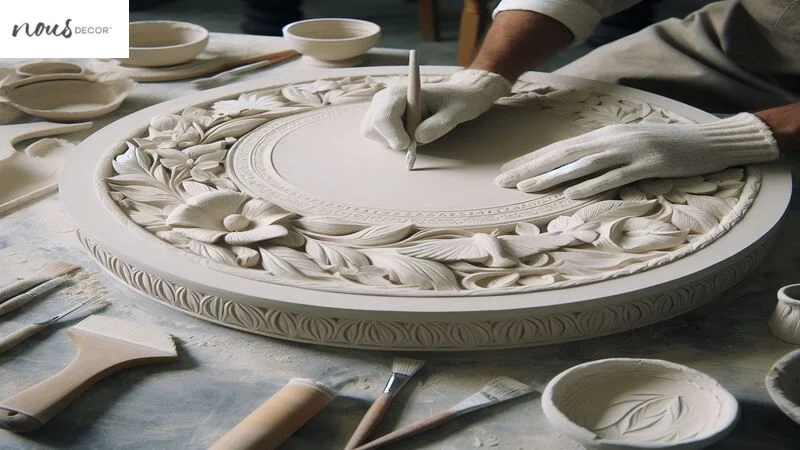
Immerse yourself in the world of exquisite craftsmanship and elevate your inside with a magnificent draft. This extraordinary furnishings segment harmoniously combines striking visual appeal, practical functionality, and exceptional durability, making it an unrivaled choice for those seeking a contemporary and stylish addition to their space.
Takeaways
- The products are a trendy and contemporary addition to any lounge.
- The cover offers a unique and customizable option for the table.
- Building your stuff involves gathering the materials, preparing the tabletop, applying the cover, and sealing it.
- The output are durable, stylish,
Plaster Coffee Table: Steps for Creating Artisan Home Goods
Now that you’re convinced of the beauty and versatility of a plaster table is used in living room decoration, let’s dive into the process of creating one. Here’s a step-by-step guide from Nousdecorteam to help you build goods made of filler.
Step 1: Gather the Materials
Before you begin, you must have all the necessary materials. You will need:- 2 sheets of 1/2-inch plywood(1,27 cement) (4’x8′ – have your hardware shop cut these in half to four 4’x4′ segments)
- 1 segment 2 inches x 10 inches x 10 feet
- 3 boxes of stucco (2 kg each) or natural gypsum
- 1 can of Minwax Polycrylic Sealer
- 1 roll of mesh drywall tape
- Spray adhesive
- Home wood filling
- Wood glue
Tip: If you don’t already have a base, you can easily find one at a local furnishings shop or repurpose an old top part by removing the existing tabletop.
Step 2: Prepare the Set
By sanding the surface to create a smooth foundation, you ensure that the cover adheres properly and achieves a seamless finish. Once sanded, take the time to wipe away any dust or debris, as an unblemished face is crucial for optimal adhesion and a professional-looking result. This initial preparation sets the stage for crafting a unique segment of furnishings that combines the organic beauty of lime covering with a contemporary layout, producing it a perfect addition to contemporary living room decor.Step 3: Start Mix and Apply the Filler
When mixing gypsum, keep these tips in mind to ensure a smooth and even surface:
- Employ cold water when mixing the cover. This slows down the reaction time and allows for a more consistent mixture.
- Adding too much water can weaken the cover and can cause it to crack or crumble over time.
- Stir continuously when mixing the cover to prevent the mixture from setting too quickly or unevenly.
- Unblemished all tools immediately after mixing the filler to prevent it from hardening and becoming difficult to remove.
Now that your cover is ready, it’s time to move on to craft your coffee table decor steps.
Step 4: Let it Dry and Seal
Allow the cover to dry completely according to the package instructions (8 hours). Once dry, sand any rough edges or imperfections to create a smooth and flawless face. Lastly, apply a sealant to protect the cover from stains and spills.and eye-catching.


Comments
Post a Comment